Google Drive allows users to store files in the cloud, share files, and edit documents, spreadsheets, and presentations with collaborators. You may have a bunch of old movie Blu-ray’s you’d love to get rid of but still have access to on the cloud. If you’re looking for a way to upload Blu-ray to Google Drive, just read on.
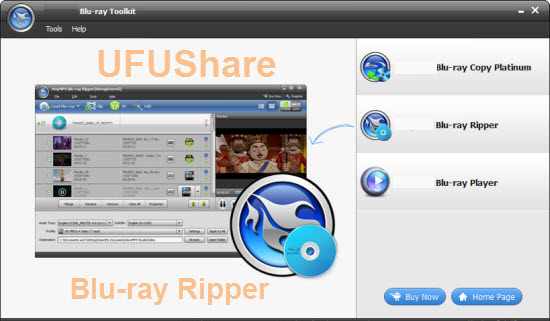
In fact, it’s easy to upload your Blu-ray files to Google Drive as long as you got a Blu-ray Ripper in hand. There are many programs out there that allow you to rip Blu-ray for using anywhere. The highly recommended one is UFUShare Blu-ray Toolkit. It can professionally convert Blu-ray to Google Drive compatible MP4, MOV, AVI, WMV, FLV files with fast speed and excellent output quality. In addition, this Blu-ray Ripping software can also rip Blu-ray to optimized video for playback on iPad, iPod, iPhone, Zune, Creative Zen, Archos, iRiver, Blackberry, Xbox 360 and more.
If you are a Mac user, you can turn to UFUShare Blu-ray Toolkit for Mac (macOS Sierra included), which has the same function as the Windows version. Now download the right version of the program and follow the guide below.
Download Blu-ray Toolkit for Windows:
Download Blu-ray Toolkit for Mac:

Step 1. Load Blu-ray movies
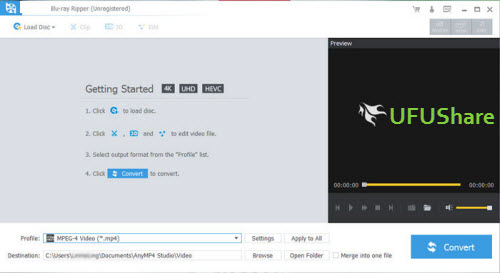
Insert the Blu-ray disc into your computer’s Blu-ray drive and run Blu-ray Ripper. You can click the “Load Blu-ray” button to load the Blu-ray files to the program. Blu-ray ISO, BDMV folder are supported also.

Step 2. Specify output format
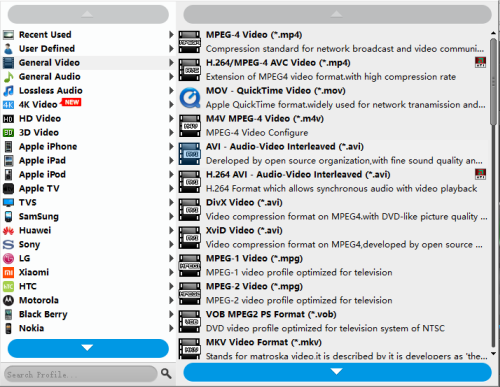
. Click “Profile” box and move mouse cursor to “Common Video” category, since Google Drive supports MP4, AVI, MOV, FLV, WMV etc video files, just select the one you need as the output format.

Step 3. Start converting Blu-ray to Google Drive
When all these settings are ready, you can click the “Convert” button to begin the Blu-ray to Google Drive conversion. When the ripping is done, you can click on “Open” button to locate the ripped videos.
Then you can upload your converted Blu-ray files to your Google drive and even watch them directly from your drive.


